在本章中,我们将了解主题管理。 它包括图像文件,模板,CSS样式表等,可以帮助您的网站看起来不错。 本章讨论如何在WordPress中安装,添加新的或自定义的主题。
以下是主题管理的步骤。
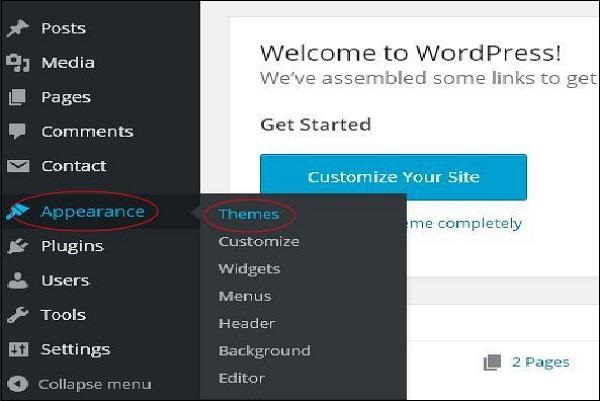
步骤(1) – 从信息中心中选择Appearance → Themes 。
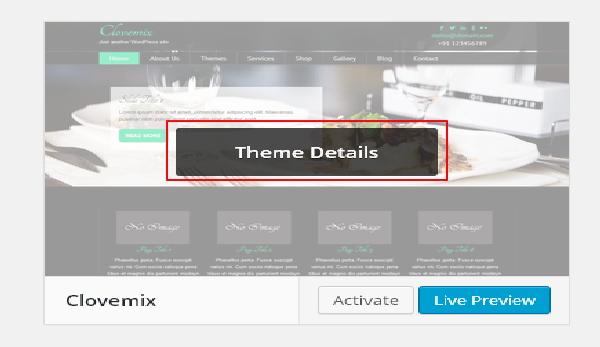
步骤(2) – 将显示以下屏幕。 将鼠标悬停在任何主题上,然后点击主题详情。

步骤(3) – 当您点击主题详细信息时,会显示以下页面。 它包括与主题相关的细节。 详细信息(如版本,说明,标签等)
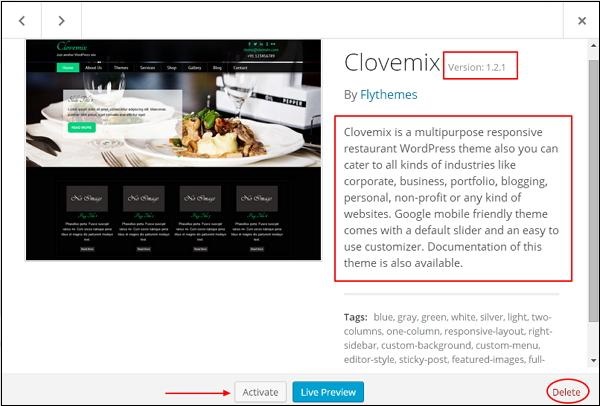
如果您要将此主题添加到您的网页/网站,然后点击激活,如果您只想查看主题,请点击实时预览。
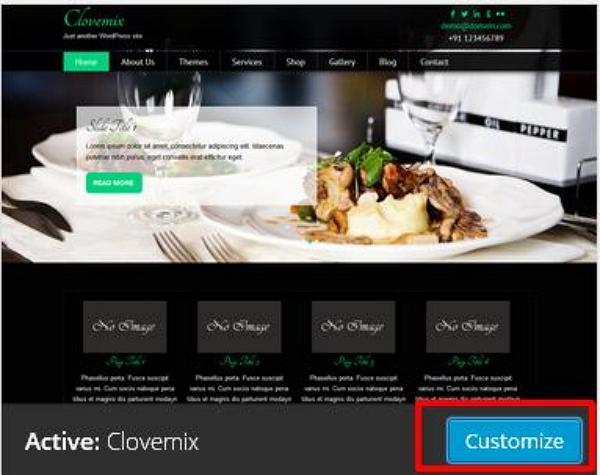
如果你点击激活,那么你会得到一个弹出消息为 –

步骤(4) – 点击自定义。
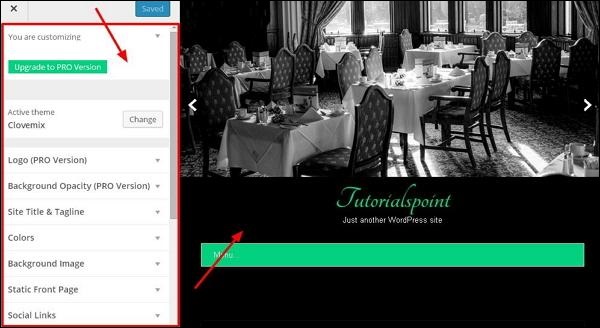
步骤(5) – 在页面的左侧,您可以自定义主题。 您所做的任何更改或您添加的任何新内容都会显示在页面的右侧。
